How To Improve Your Timing And Beat Placement
Published: 03/09/2013
Under: Guitar Lessons
Did you know there are three types of timing? Well, there are and understanding them will help you to improve your timing.
You have on the beat, before and after. Your beat placement defines how the tune feels. Let’s explore each of these three. Here are a few different exercises that will teach you how to improve your timing and beat placement
Beat placement
Push
Pushed means in front of the pulse. So a millisecond or two before the pulse, you play the note. It’s just a millisecond or two, but it will make the whole piece sound rushed or slightly faster than the metronome mark. This tiny change has a big impact on how the piece feels.
Pull
The opposite of pushed, pulled is playing just after the beat. This makes the whole song feel sightly slower. Again it’s just a couple of milliseconds, however, the impact is HUGE!
On Top
This says what it means; you’re right on the pulse. If you use a metronome, when you play on top you, the metronome disappears – no matter how loud of soft you play.
Picking your beat placement
Usually, you’ll pick one of the three and stick with it. For example:
In 1950s Chicago blues, you can often find drummers playing behind (pulling) the beat.
Whereas playing ahead of the beat (pushing), is a feature of some Latin music styles such as salsa.
The Police (band) played everything pretty much on top of the beat.
Some singer-songwriters push and pull the song around depending on the emotion they are trying to convey. It’s easy to argue that this what makes the song unique. While it’s highly likely that this is unintended, it does sound great!
Most guitarist play in front. Yes, we like to push the beat and push it hard!
How to stop pushing the beat?
Moving your beat placement will take work. It’s worth practicing all three beat placement types. So how can you improve your timing?
Exercise 1
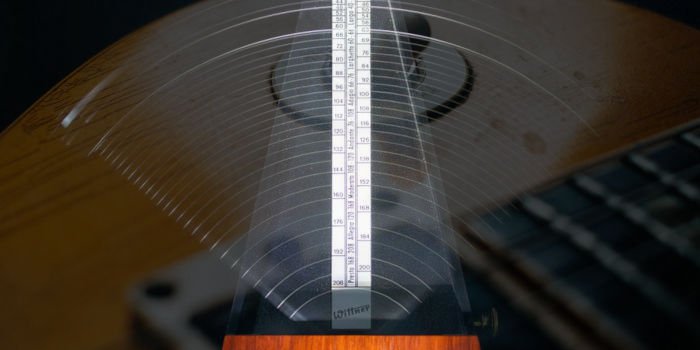
If you start your metronome at 40BPM, just listen to the click, try to internalize it. If you don’t have one, I recommend the Boss DB-30C Dr. Beat as it’s affordable ($31) and rock solid.
Exercise 2
Clap on top of the pulse. Aim to get your clap directly in time so that the click disappears.
Just focus on the exercise, block out everything else. Try this for 5 minutes straight. It might be worth setting a timer. After the 5 minutes, take abreak!
Exercise 3
Now, having tried to clap on top of the beat, try slowing down your claps. You want your clapping to feel lazy in comparison to the click.
This is playing behind the beat. Remember you want to feel a little lazy yet controlled. Again try this for 5 minutes, then take a break.
Exercise 4
Go back and try playing on top again. Set the clock for 5 minutes. Focus hard on getting it right, every time. After 5 mins, reward yourself with a short break.
Exercise 5
Now, having tried to clap on top of the beat, try speeding up or pushing. You’ll now be clapping slightly faster than the pulse. Remember to stay in control and marginally ahead of the beat.
Try this exercise for 5 minutes and then take a short break.
Exercise 6
Now try this: 8 bars on top, 8 bars pulling, 8 bars on top, 8 bars pushing and then to finish 8 bars on top. We’ll stick with the clapping for this exercise.
Exercise 7
If you’ve got this far, take a break. Have a beer or a cola. You’ve done great so far!
Exercise 8
Now, pick up that guitar and try Exercise 1 to 7. Use a single note, something like an A note on the 7th fret on the D string. Remember to use the free fingers to mute the others.
You can either focus on the single string or playing all 6. You could use that as two sets of exercises. Double the practice! Double the fun!
Exercise 9
Now, try Exercise 1 to 7, using a simple chord like an E chord or an E type bare chord. An G chord starting on the 3rd fret is a superb choice.
Exercise 10
If you’ve got this far, take a break. Have a beer or a cola. You’ve done great so far!
That’s How To Improve Your Timing with ease
So this is how to improve your timing. If you have followed the exercises and worked on it for a few weeks, you will have a better concept of how you can move the beat around. As well as the different feelings beat placement creates.



Leave a Reply